Best Adobe Express Alternative to Remove Backgrounds from Images

Sometimes, you need a clean, professional image without any background distractions, whether creating marketing materials, designing social media content, or working on a presentation. Removing the background can give your images a polished look and make them easier to use across different platforms. Adobe Express offers a simple yet powerful tool that makes removing backgrounds fast and easy.
In this guide, we’ll walk you through how to do it step by step, ensuring high-quality results even without design experience.
Why Remove Backgrounds from Images?
Background removal is a key element in many creative projects. Whether you’re looking to isolate a product for an e-commerce website, highlight a subject in a professional photo, or simply make a logo or icon pop against a transparent background, removing unwanted elements helps create a cleaner and more focused image. It also allows for greater flexibility in design—transparent backgrounds make it easier to overlay images on various backgrounds or combine them with other visual elements, giving your projects a polished and professional look.
What is Adobe Express?
Adobe Express is a versatile and user-friendly online tool that simplifies various design tasks, including background removal. It’s designed to be accessible to everyone, whether you’re a beginner or a pro. Adobe Express is browser-based, meaning you don’t need to download any software, and it allows you to remove backgrounds, resize images, create social media graphics, and much more. The best part? The background removal tool is completely automated, meaning it will detect and remove backgrounds from your images with just a few clicks, saving you time and effort.
How to Remove Backgrounds with Adobe Express
Follow these simple steps to remove the image background using Adobe Express.
Step 1: Upload Your Image
Visit Adobe Express's website and navigate to the "Remove Background" feature. Click the "Upload" button to select the image you want to edit. You can upload images from your computer or drag and drop them directly into the tool.
Step 2: Remove BG with Adobe Express
Once your image is uploaded, Adobe Express will automatically detect the background and start removing it. The AI-powered tool identifies the subject of your image and isolates it, leaving you with a clean, transparent background. The process usually takes a few seconds.
Step 3: Download or Edit Further
Once the background is removed, you can download your image in a PNG format with a transparent background. If you want to make further adjustments, Adobe Express allows you to add new backgrounds, apply filters, or customize your image with text and graphics.
Best Adobe Express Alternative to Remove Backgrounds from Images
Imglarger Background Remover
Imglarger Background Remover is a free AI Background Remover that quickly removes unwanted backgrounds from your images. This tool handles it all, whether it’s a plain white background, solid color, gradient, or even a pattern. With just one click, the background is automatically and accurately removed, leaving you with a clean, focused image—no editing experience required.
A standout feature is its ability to process multiple images at once. Unlike other tools like Adobe Express, Imglarger allows you to simultaneously upload and remove backgrounds from several photos. In just a few seconds, you’ll have all your images with transparent backgrounds, making it faster and easier than ever.
- Supported images: JPG, PNG, and WebP
- Available uploading photos: Up to 8 images can be uploaded for processing each time.
Imglarger Background Remover Features
- Simple interface that makes it easy to remove background from images.
- Output a clean and focused result with a transparent background.
- Never destroy or affect the surroundings or the element’s edge.
- Works well for many backgrounds, such as solid color bg, pattern bg, gradient bg, etc.
- Never compress the processed image. Keep high-quality output always.
- Remove backgrounds from multiple images with one simple workflow.
- Support editing your images with a transparent background.
How to Remove Image Background using Imglarger
- Upload an Image
Drag and drop the image from which you want to remove the background. Whether this image has a solid color background, a gradient background, or a complex patterned background, imglarger can work on it!
- Remove the Background
Click the 'Upload and Start' button to begin the background removal process. Imglarger’s BG remover will precisely cut out the background from the image while keeping the main subject intact.
- Preview and Download
Preview the result once the background is removed to ensure it's accurate. You can then do further editing with our editing tools or download the image with a transparent background.
Also read: Remove Background from Your Image For Free
Imglarger Background Remover Pros and Cons
Pros:
- One-click background removal.
- Supports batch background removal.
- Delivers high-quality results.
- Fast and accurate background removal.
- Keeps the original resolution of the subject.
- Works on various types of backgrounds.
Cons:
- Batch processing is only available for premium members.
- Occasionally, the background removal results may not be perfect.
Tips for Best Results When Removing Backgrounds
While Adobe Express or Imglarger BG remover is very effective at removing backgrounds, there are a few tips to help ensure the best possible results:
- Choose High-Quality Images: The clearer and sharper your image, the better Adobe Express can detect the subject and remove the background accurately.
- Simple Backgrounds Work Best: For best results, try to use images with simple or solid-colored backgrounds. Complicated or busy backgrounds might require additional touch-ups.
- Edit as Needed: If the background removal isn’t perfect, you can manually adjust the edges using Adobe Express’s additional editing tools, ensuring your subject is clean and well-defined.
How to Enhance a Background Removed Photo?

Once you’ve removed the background from your photo, the next step is to enhance it to make it look crisp and polished. Whether you're working on a product image, a portrait, or a custom design, here are three essential steps to make your background-removed photo shine.
Enhance Clarity with an AI Image Sharpener
After using a background remover, the quality of your image may not always be perfect, especially if the original photo was slightly blurry. If your photo has lost some sharpness or looks pixelated after background removal, you can fix this by using an AI image sharpener.
How it works:
These kinds of tools, like Imglarger’s AI Image Sharpener, use advanced algorithms to intelligently enhance the clarity of your photo. Whether it’s blurriness or pixelation, the tool will naturally sharpen your image, making it clearer and more vibrant.
Why it helps:
Improving clarity is crucial for background-removed images, as small details in the subject can get lost when the background is removed. A sharper photo will ensure that the subject stands out and maintains its visual quality.
Also read: Best Image Sharpener Lunapic vs. Imglarger vs. Imageonline
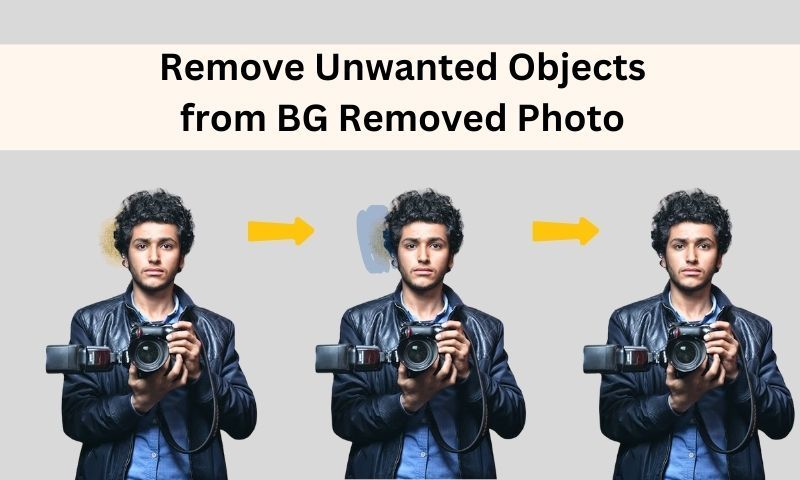
Clean Up the Image with Object Remover

If your background removal didn’t go perfectly, you might see unwanted remnants of the old background or edges that need tidying up. For this, Object Remover is what you need.
How it works:
AI Object Removal tools are designed to intelligently detect and remove unwanted elements from your photos. Whether there are stray pixels, shadows, or areas that need to be blended, these tools can clean up the edges and fill in the missing parts of the photo.
Why it helps:
When the background removal process leaves imperfections, it can make your photo look incomplete or unprofessional. Object Removers help restore the visual integrity of the image by seamlessly fixing unwanted elements.
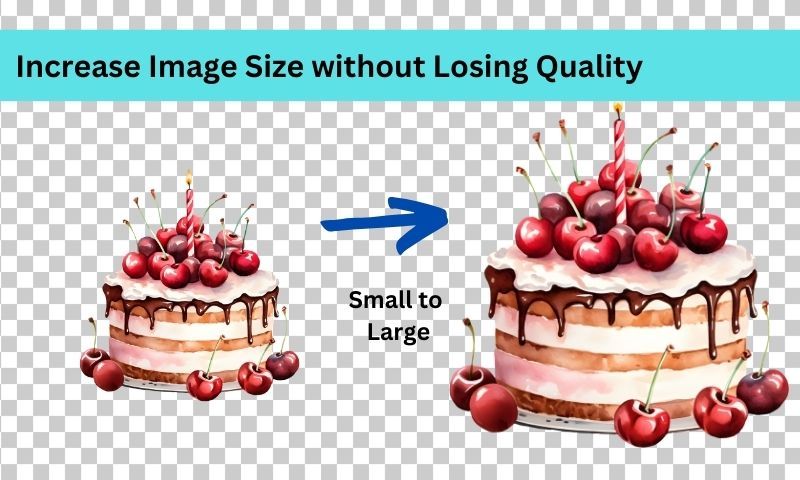
Increase Image Size Without Losing Quality

Sometimes, you need your enhanced photo in a larger size for printing, high-quality displays, or to meet specific project requirements. The challenge here is to increase image size while preserving its high resolution.
How it works:
Using an AI Image Enlarger, you can enlarge your image up to several times its original size without compromising on quality. The AI works by analyzing the details of the image and filling in extra pixels to maintain sharpness and clarity.
Why it helps:
If you’re planning to use your image for high-resolution purposes, like 4K printing or large-scale displays, enlarging it while maintaining quality is essential. An AI-powered enlarger ensures your photo stays crisp, even at larger sizes.
Conclusion:
Removing backgrounds from images or generating new backgrounds can significantly enhance your creative projects, giving them a clean, polished, and professional look. Whether you're designing for social media, creating marketing materials, or preparing images for presentations, tools like Adobe Express make the process incredibly simple and efficient. With its AI-powered background removal feature, Adobe Express allows anyone—regardless of design experience—to achieve high-quality results in just a few clicks.
For those seeking an alternative, Imglarger Background Remover offers similar functionality with the added benefit of batch processing, enhancing photos, and saving time when working with multiple images. Both tools provide fast, accurate background removal, making it easy to create images with transparent backgrounds ready for any project. By following the steps and tips outlined in this guide, you'll be well-equipped to remove backgrounds like a pro and take your designs to the next level.