Big Prints, Small Files? How to Make Photos Look Great at Any Size

Images are everywhere, capturing our precious moments, conveying messages, and connecting people visually. In this world that prioritizes speed and efficiency, we aim to reduce photo file sizes without compromising image quality. This requires understanding the dimensions, information content, and compression techniques of images, and balancing these elements.
Understanding Why Image Size Matters More Than Ever
The Emotional Impact of Image Quality
Compared to high-definition photos, blurry images diminish visual impact. This subtle damage quietly erodes trust. Whether showcasing products, sharing artworks, or preserving cherished memories, image quality conveys dedication, sincerity, and credibility.
When compression technology compromises clarity, viewers instantly perceive the loss. High-quality visual content builds emotional connections, boosts engagement and conversion rates, and conveys a professional image. Across different scenarios, we should avoid unthinkingly pursuing large image sizes.
Excessively large image files slow down website speed, frustrate users, and harm search rankings. This very tension makes mastering image compression techniques not just an option—it's essential.

Print vs Digital: Different Rules, Same Goal
Printing demands rich detail representation, while digital media prioritizes speed—yet both share the same goal: delivering clear results at the target size. A 10MB image may be perfect for print but cause catastrophic results online; conversely, a 300KB image might look stunning on screen yet become completely distorted when printed. Understanding an image's intended context is the first step toward achieving precise and effective optimization.

The Science Behind Image Compression and Quality
What Image Compression Really Means
The core principle of image compression is to reduce file size by removing redundant or imperceptible data. When compression is handled properly, the human eye can scarcely detect any difference; if mishandled, however, it results in noticeable and unsightly degradation of image quality. Compression technology exists due to the practical realities of limited storage space, tangible bandwidth costs, and the direct impact of speed on user experience.
Lossy vs Lossless Compression Explained
Lossless compression preserves all original data, achieving moderate file size reduction without compromising image quality. Lossy compression permanently discards some data, enabling significant file size reduction with minimal visual loss when carefully applied. The key point is simple: lossy compression is never careless—it is deliberate.

Common Myths About Compression
Smaller file sizes do not inherently mean lower quality. There is no universal image format suitable for every scenario. Compression is not a one-time operation—best practices evolve with devices, platforms, and user expectations.
Resolution, DPI, and Dimensions: Clearing the Confusion
Pixels, DPI, and Viewing Distance
Resolution isn’t just a set of numbers—it’s about perception. A 300 DPI image matters for print viewed up close, while on screens, pixel dimensions matter far more than DPI settings. The simplest truth is this: if an image looks sharp at the size it’s displayed, it’s doing its job.
How Professionals Think About Size
Professionals start with the end use and work backward. They consider where the image will live, how closely it will be viewed, and what emotional response it should evoke. This mindset prevents unnecessary overkill and protects both performance and visual integrity.

How to Make Photos Look Great at Any Size
In a world where images live everywhere — websites, social media, print, mobile apps, ads, and giant screens — your photos must look amazing at any size. But resizing often results in blurring, pixelation, distortion, or loss of detail. The good news? With the right techniques and tools, you can maintain clarity, sharpness, and visual impact whether your photo is tiny or massive.
1. Start With the Highest Quality Source Image
Everything begins with the original photograph; no amount of sophisticated optimization can restore what was never there. A high-quality source image grants you greater creative freedom, sharper detail rendering, and final results that far exceed expectations.
Always strive to shoot or process at the highest resolution possible—whether using modern smartphones, professional cameras, or well-preserved original files. Avoid images that have been excessively compressed through instant messaging apps, social platforms, or screenshot tools, as these processes permanently discard visual data.
Whenever possible, maintain RAW format files or high-resolution JPEGs as your working foundation. Never manually enlarge blurry images. The golden rule is simple: downsizing is always safe and reliable, but forcing enlargement without AI technology almost inevitably results in noticeable quality loss.
2. Understand Image Resolution vs Image Size
One of the most common mistakes in image optimization is confusing resolution with image dimensions. Resolution refers to pixel density, typically measured in DPI or PPI; image dimensions describe the actual pixel size—that is, width multiplied by height.
For example, a 4000×3000-pixel image contains sufficient data for large-format printing, while an 800×600-pixel image is only suitable for small thumbnails or previews. Simply scaling a small image to a larger size doesn’t add detail—it just stretches existing pixels. To look good at large sizes, an image needs more pixels from the start or intelligently reconstructed detail through AI.

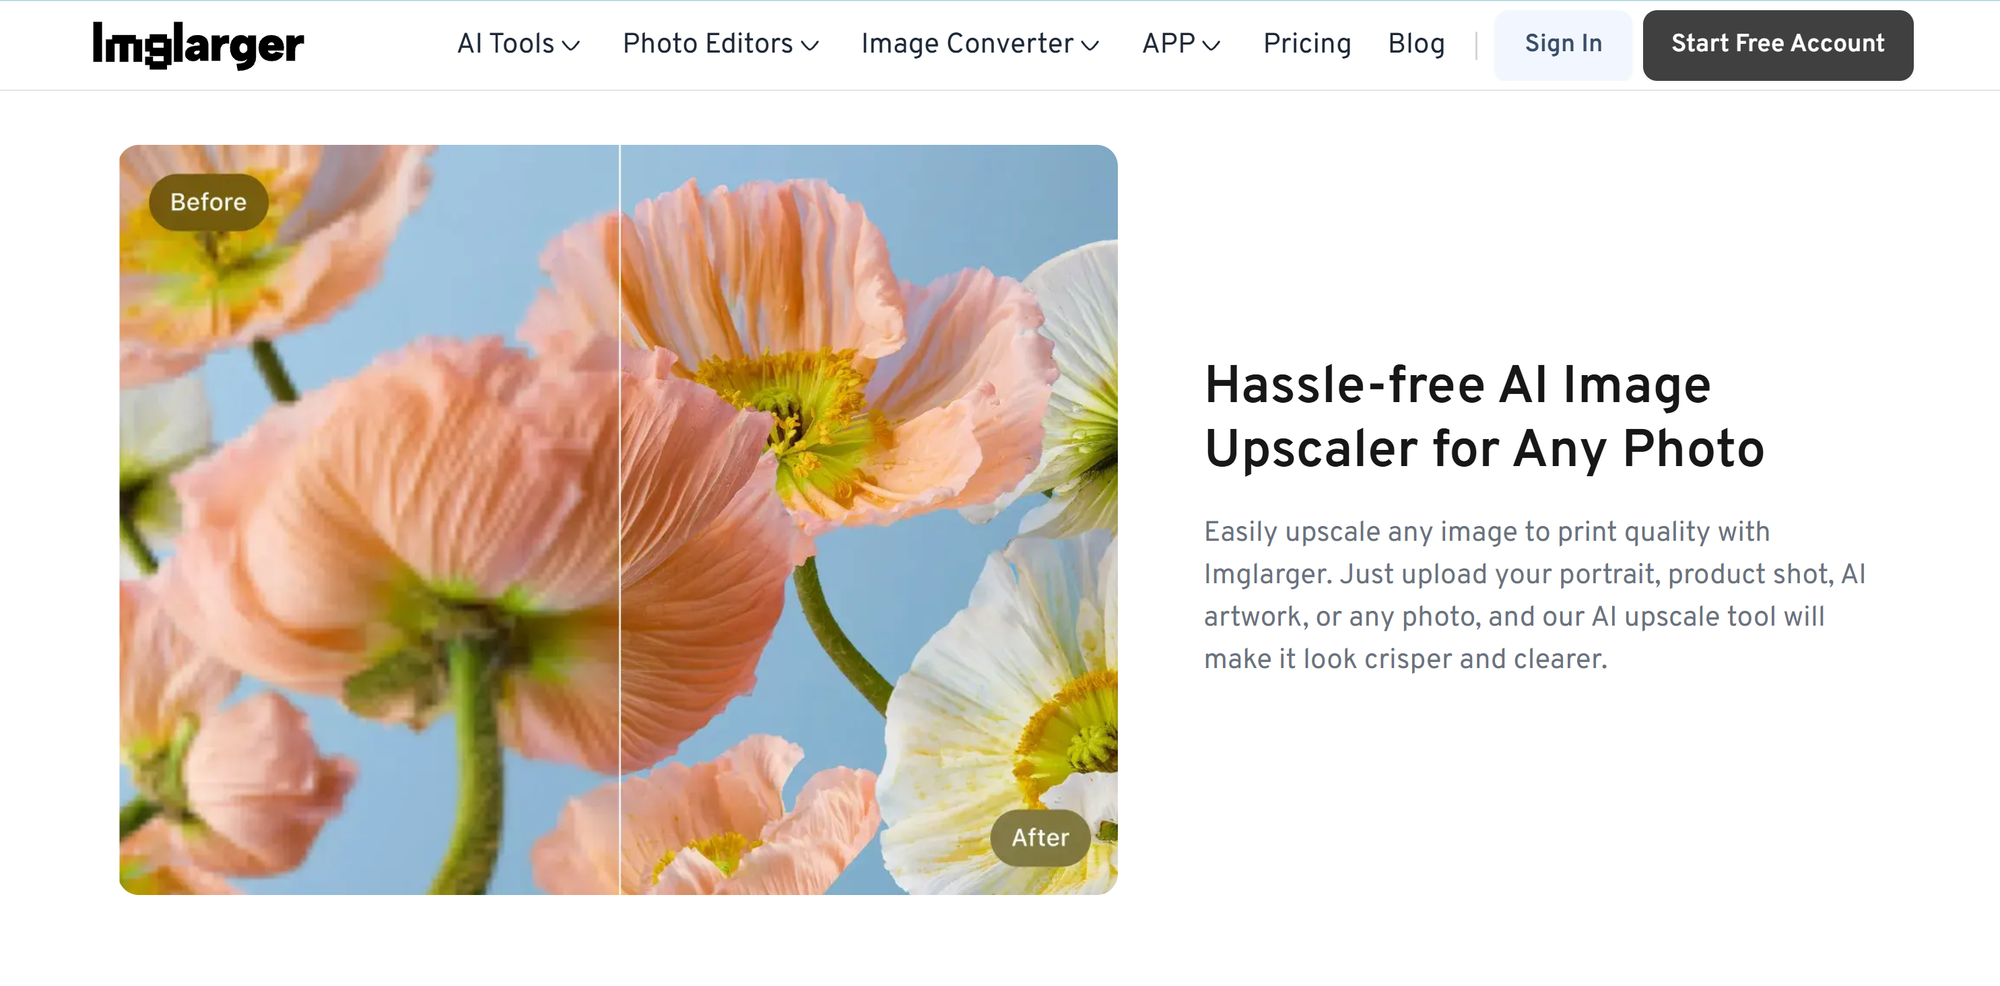
3. Use AI Upscaling Instead of Normal Resizing
Traditional resizing methods stretch pixels, resulting in softness and blurring. AI upscaling works by analyzing an image and reconstructing missing details, resulting in sharper, more natural-looking images.
Modern AI upscalers can rebuild edges, add realistic texture, enhance clarity, preserve facial features, and sharpen fine details without making the image look artificial.
Common scaling options such as 2×, 4×, and even 8× allow images to maintain visual integrity at much larger sizes. AI enlargement has become the most effective way to make photos look great across different resolutions and display contexts.
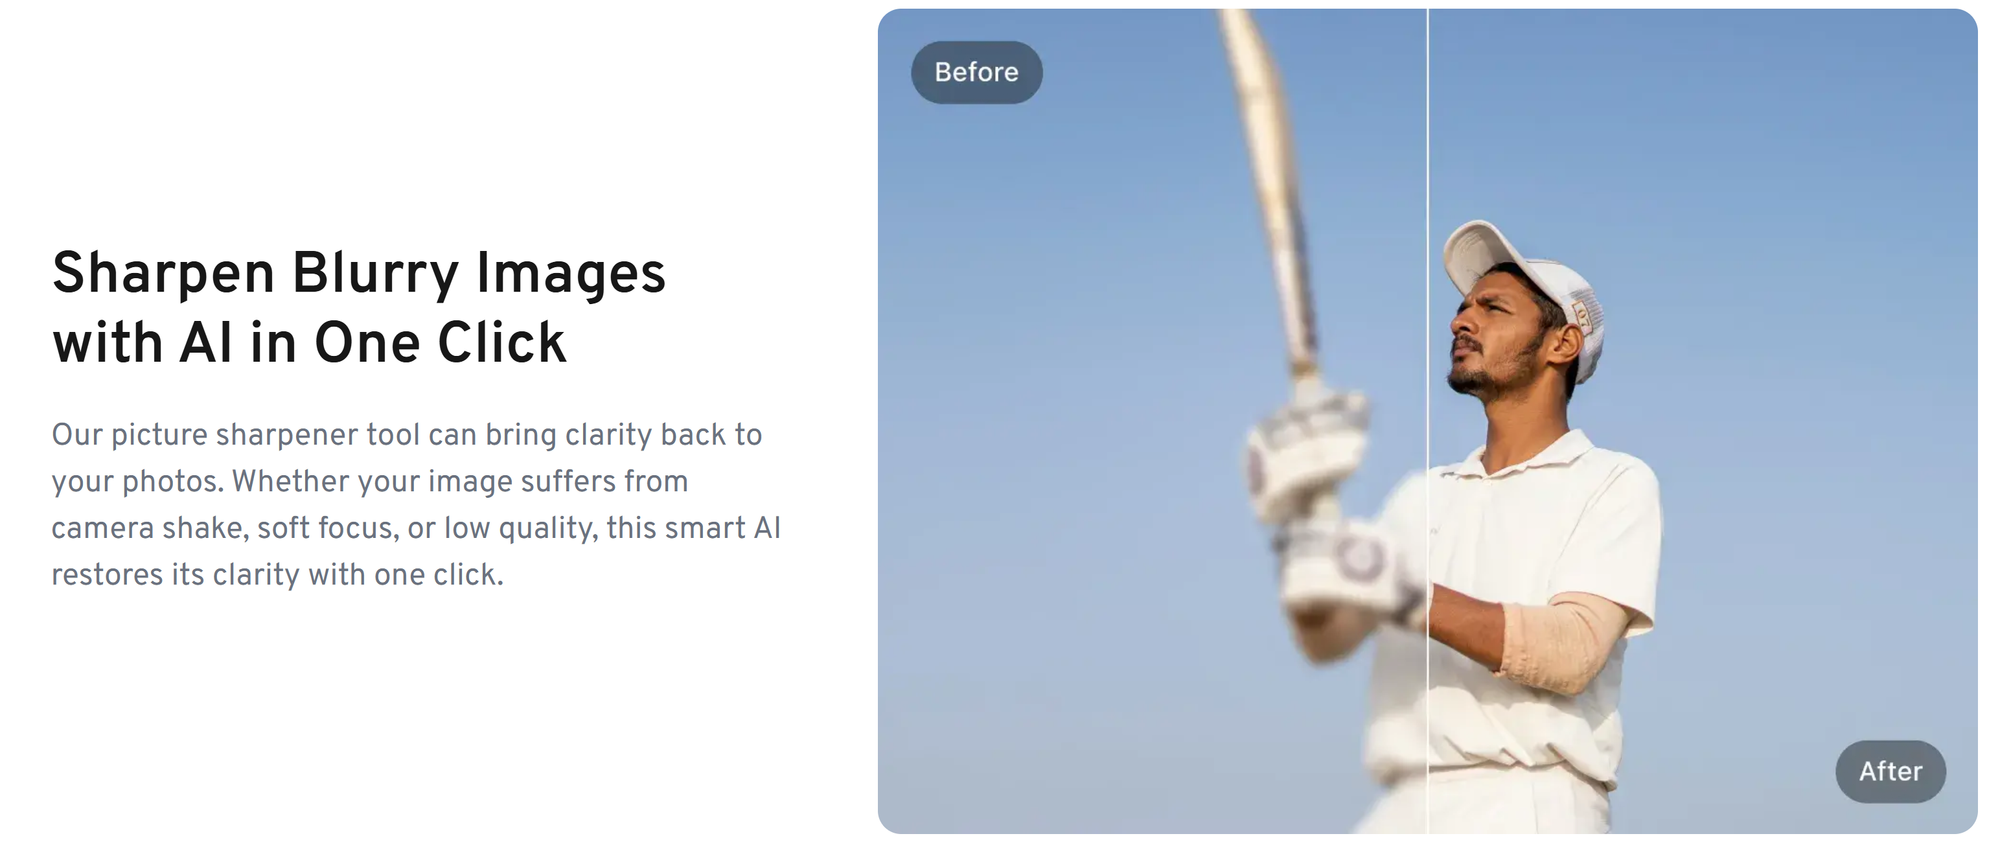
4. Sharpen Intelligently
While sharpening tools are powerful, overuse can rapidly degrade image quality. Excessive sharpening produces halos, magnifies noise, and creates harsh, unnatural edges. Intelligent sharpening should always be applied after resizing, not before, and must remain subtle and controlled.
AI sharpening tools prove particularly effective as they focus on meaningful edges and textures rather than flat areas like skies or skin. The goal is clarity—sharpening should be just enough to restore detail contours without making the processing itself a visual focal point.
5. Reduce Noise Before Enlarging
As image size increases, noise becomes more pronounced, making early processing critical—the right workflow is essential. Always follow these steps: first reduce noise, then enlarge, then sharpen, and finally enhance details as needed.
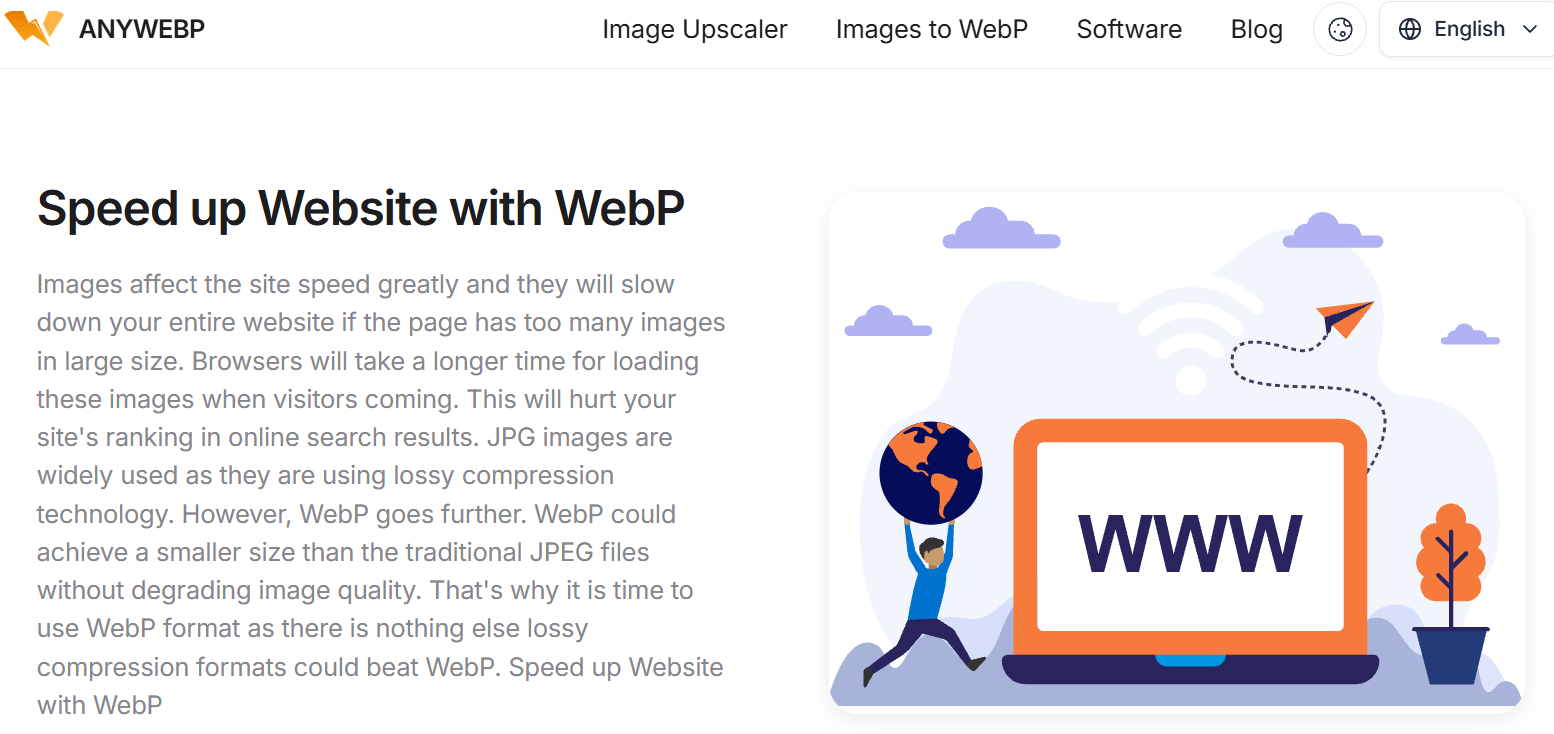
6. Use the Right Format for Each Size
Image formats are critical for image quality and performance. Different applications require different formats. Websites typically achieve optimal results with WebP or high-quality JPEG. Printed materials generally require PNG or TIFF formats to preserve maximum detail.
Social media platforms favor high-quality JPEGs, while images with transparent backgrounds should use PNG or WebP. Among these, WebP particularly strikes an ideal balance between image quality and file size, making it an excellent choice for multi-resolution display scenarios.
7. Optimize for Different Platforms
Each platform has its own unique visual and technical requirements. Social media images must feature high contrast, a clear focal point, proper cropping, and mobile-first composition.
Website images must load quickly, adapt to different screen sizes, and utilize responsive technologies (such as multiple resolutions or srcset) to display precise images at the appropriate dimensions.
Print images require a resolution of 300 DPI or higher, using high-precision source materials and meticulous color correction, with no compression artifacts. Optimizing based on platform characteristics ensures consistent image quality across all display scenarios.
8. Maintain Aspect Ratio Always
Aspect ratio is non-negotiable. Stretching or compressing images causes far greater quality loss than blurring. Image scaling must maintain proportions and fully preserve the original aspect ratio. Vertical or horizontal distortion instantly makes visuals appear unprofessional, undermining user trust.
9. Enhance Details With AI Retouching
Modern AI image enhancement tools achieve far more than basic scaling and sharpening: they improve facial clarity, enhance texture definition, optimize edge details, boost contrast, restore aged or damaged photos, eliminate blur, and reconstruct lost details. When applied correctly, these tools deliver naturally high-quality results at any resolution—free from overprocessing or artificial artifacts.

10. Test at Multiple Sizes Before Publishing
Before finalizing any image, be sure to test it across multiple sizes and scenarios. Preview thumbnail effects, mobile and desktop display effects, full-screen view effects, and applicable print resolution effects.
This step ensures images remain crisp and sharp, with balanced composition and consistent emotional impact in any presentation scenario. Testing serves as the ultimate safeguard, verifying that your optimization approach delivers tangible results in real-world applications.
Conclusion
Large-format printing and compact file sizes are not mutually exclusive. By adjusting dimensions, selecting formats, and applying compression, a single image can seamlessly transition between screens and paper, maintaining clarity and expressiveness at every stage.
Image optimization ensures images appear just right wherever they appear. A perfectly optimized image respects the viewer's time while aligning with the creator's vision. It loads quickly, prints beautifully, and fully conveys the intended emotion.
